Short answer
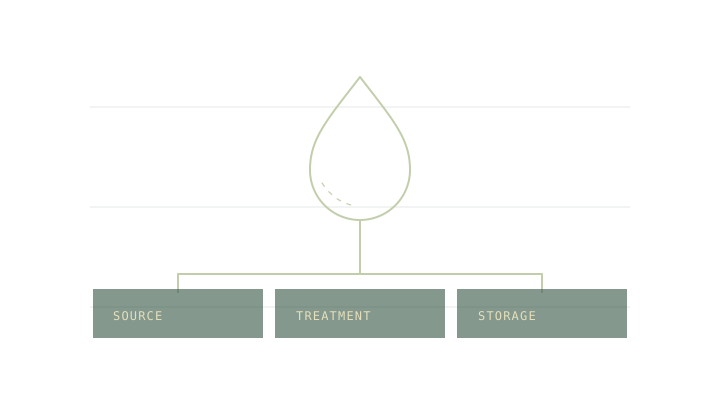
Pick one container for untreated water and one for water you have finished treating. Make them easy to tell apart in poor light. Keep the untreated mouth, threads and hose connections away from the clean side. Follow the treatment and storage instructions for the system you carry.
On this page
Make the difference easy to see
Use the word “untreated” or a mark you can feel. Mark the whole container, not just a removable cap. Two bottles with identical caps can swap roles as soon as you put them down together. The simplest kit lets everyone tell which container to pick up without asking who used it last.
Think through a real sequence. You arrive with cold hands and very little light. Which mouth is exposed while you collect water? Where will the clean cap sit? Give the drinking container a consistent place in the bag. Give any bag or hose that touches source water its own spot too.
Follow the water from source to mouth
Choose a source using current information. The source report note helps separate what you know about flow from what you know about the water’s condition. Cloudy water can complicate treatment. Read the cloudy water guide and the actual instructions before relying on your system.
When a filter connects to a collection bag, identify its inlet and outlet. Keep raw water away from the outlet, the receiving container threads and the inside of the drinking cap. If you use a disinfectant, keep the batch marked as in progress until the product’s complete instructions and contact time have been followed. See chemical treatment limits for why timing varies by product and water conditions.
Make room for each stage
A fictional kit uses a 1.5 L collection bag and two 0.75 L drinking bottles. The numbers sum to the same nominal volume. In practice there can be water left in the bag or the equipment, and the amount you collect may exceed what the drinking side can hold. Test the transfer with ordinary tap water at home, using the same containers you will carry.
The Pack ledger lets you weigh the empty system and enter the water you plan to carry separately. Before changing containers to save weight, check that the replacement still works with the filter, holds the required amount and gives the group a clear way to separate treated and untreated water.
Rehearse the awkward case
Set up the kit on a surface you can clean. Notice where the cap rolls or where a wet hose rests. If you use the kit with another person, let them try the sequence without instructions. A confusing step at home is worth correcting before the first refill in the dark.
Check the filter and purifier comparison and choose the scenario in Water decisions. The container routine protects the clean side after treatment. The choice of treatment still depends on the source, advisories and instructions. Bring a separate verified supply or a different route if those assumptions cannot be met.
If the group uses one shared treatment system, assign the transfer to one person and keep the other bottles closed until they are ready to fill. That makes it easier to know which cap or vessel touched the untreated water.
Common questions
Is colour enough to mark the untreated bottle?
A visible label works in daylight. Use a different shape, a textured marker or a distinct storage spot if you might need to tell them apart after dark.
What if the drinking-side cap touches untreated water?
Keep that container out of drinking use until you can follow the appropriate cleaning and treatment guidance. Avoid guessing that a quick wipe has cleaned it.
Sources
Published 9 November 2026. Reviewed 9 November 2026. Sources support the figures quoted; they do not endorse Trailwright. Report a correction through the owner’s contact page.