Short answer
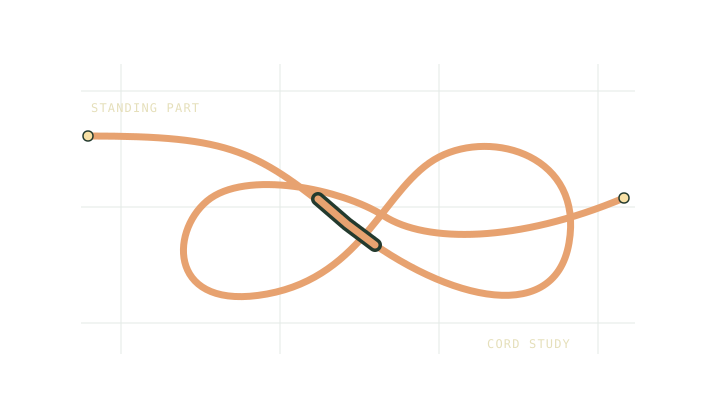
Practise a camp knot with short, visible cord and an unloaded fixture. Mark the working end, follow it through the turns and compare the finished shape with qualified instruction. Keep practice pieces separate from the field kit. Rehearsing a path does not rate a knot or cord for a load.
On this page
Make the path easy to follow
Put a spare piece of cord on a table with enough room to dress it flat. Mark one end so you can see which part you are moving. For a practice hitch, use a fixed fixture appropriate for an unloaded exercise. Set up so the entire working end stays in view when it passes behind a turn.
Open the Knot bench and use the step controls as a reminder of the path. Read the figure-eight stopper sequence if you are practising a stopper. For the round turn and half hitches, identify the standing part before you start tracing the two hitches.
Compare one change at a time
Tie the sequence once with the working end marked. Then untie it and repeat without the diagram in front of you. At each turn, stop and name where the end goes next. Ask an experienced instructor to check the finished example and any places where the path you tied differs from the demonstration.
A short exercise is most useful when the path is visible. It can be hard to see a crossing in dark cord, especially if it is small or already pulled tight. Try viewing the sample from the opposite side and identify which strand passes over the other. If you cannot trace it, loosen and repeat with the sequence in view.
Separate the practice kit from the field lines
Put a clear practice label on the pieces used for the bench. Keep them in their own bag or tray. A short piece you have trimmed or marked for teaching should not end up as the only line available for a shelter. Choose the actual cord and fittings for their intended use and read their instructions.
The guyline material note explains why a different fibre or construction can feel different and call for a different method. When switching from the practice piece, rehearse the actual setup in its intended non-critical use under appropriate instruction. Check which method the maker specifies for the fittings rather than assuming any knot from the bench applies.
Finish with a separate length check
The bench helps with learning the path. It can also give you a place to measure a tying allowance once you know the correct arrangement. Keep these two records separate. An easy practice piece and a real guyline can consume different lengths in the same shape.
Finally, leave the practice kit unloaded and clearly marked. Store the camp lines with the equipment they belong to. If the field setup requires unfamiliar gear or an unfamiliar termination, get the relevant instruction and test it before relying on it away from home.
On a group bench, label the practice knot and what it is meant to do. Similar-looking knots can have very different jobs. Ask each person to identify the one they tied and explain which strand they would follow first to check it.
Common questions
What makes a good practice cord?
Choose something you can see clearly and handle easily on a bench. Use distinct markings and follow the instructor’s directions for the intended exercise.
Can a practice result tell me the strength of a real setup?
It helps you recognise the tying sequence. Strength and suitability depend on the real cord, use and verified guidance for that application.
Sources
- Scouts activity using knots and lashings
- Samson rope care and inspection
- Trailwright model and assumptions
Published 9 November 2026. Reviewed 9 November 2026. Sources support the figures quoted; they do not endorse Trailwright. Report a correction through the owner’s contact page.