Short answer
Split the route at places you can recognise, especially before slow ground or a route choice. Give each leg its own distance, ascent and extra time. The sum should match the route you mean to walk. Keep waits and stops visible so you can tell which part of a late arrival changed.
On this page
Find the boundaries that matter
Look for a clear junction, a change in surface, the start of a large climb or a choice between routes. Mark each place where you would want to know whether the group is early or late. A route with a long technical approach and a quiet return path can benefit from two separate estimates even if both look short on the map.
Do not split the route so finely that the plan becomes hard to check while moving. If two nearby places have no practical difference, give them one row. The day hike itinerary note shows what to write in each row and how the rows relate to the finish deadline.
Keep the climb on the leg that climbs
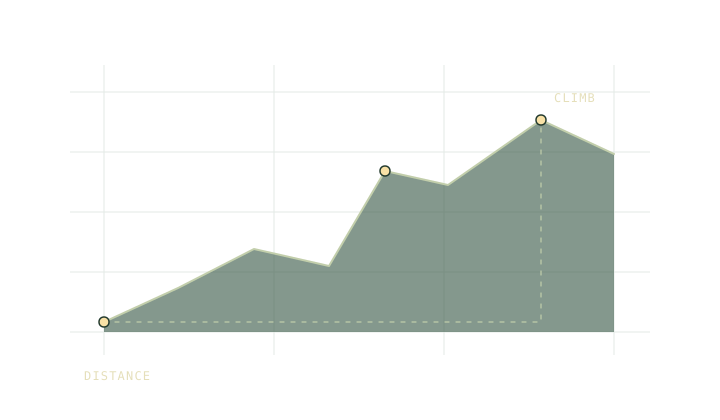
Imagine a 10 km day made up of a 3 km approach, a 2 km climb and a 5 km return. If all 400 m of ascent is on the middle leg, assigning it evenly across the day pushes the estimated times out of order. At 4 km/h the flat times are 45, 30 and 75 minutes. The default climb allowance puts another 40 minutes on the middle leg.
The full day still adds up to 190 moving minutes by either distribution. Only the correctly split plan puts the 70-minute effort between the approach and return. That matters when the middle leg is where you need to decide to continue or turn back.
Write down what adds time
Add time for a rough approach, a difficult junction or a planned wait. If a group takes a snack break at a named point, write it at that point. Keep a whole-day reserve as a separate amount. It lets you see when a long pause has made the timetable too tight, instead of hiding the pause inside a faster-looking pace.
If you start from a route file, use the GPX profile to inspect its shape. Check the elevation coverage before copying ascent. Estimate the large climbs at leg boundaries from a suitable map when the file gives only a single total.
Compare a checkpoint with its cutoff
The trip planner works back from the finish deadline after deducting the reserve. A checkpoint time then has two jobs. One says when you expect to arrive. The other says how late you can be and still keep the reserve under the entered assumptions.
Use the turnaround time note to connect the difference to a real choice. A route plan can only help if you can identify both the checkpoint and the action that follows. If a checkpoint is hard to recognise in poor visibility, choose another boundary or prepare a separate navigation instruction for it.
Note any stretch where the pace estimate is unusually uncertain. On a leg you can measure well, a late arrival is useful evidence. On an unverified leg, it may simply reflect a longer route than the line on your map.
Common questions
Should every kilometre be a new leg?
Use a boundary you can recognise or a change that affects the plan. A named bridge or junction is usually easier to act on than a kilometre marker in a file.
Where should I record a lunch break?
Put the stop at the checkpoint where you intend to take it. The timetable should show what the break does to the next departure.
Sources
- National Park Service trip planning guide
- Trailwright model and assumptions
- Trailwright model and assumptions
Published 9 November 2026. Reviewed 9 November 2026. Sources support the figures quoted; they do not endorse Trailwright. Report a correction through the owner’s contact page.